Picture this: it’s 2am, your sweet baby is crying, you’re running on maybe two hours of sleep, and you can’t find the wipes anywhere. You know you bought three packs. They were definitely right here yesterday. Now one is somehow in the kitchen, one is buried somewhere in the nursery, and the third? It’s like it grew legs and walked away.

Here’s the thing nobody tells you before baby arrives: the overwhelming part isn’t usually the baby — it’s keeping track of all the stuff. And I want you to know something reassuring: the fix is so much simpler than you think.
Setting up a proper diaper station before your little one arrives is honestly one of the kindest things you can do for yourself during those beautiful, exhausting first weeks. This is the exact diaper station checklist I wish a friend had sat me down and walked me through on day one — so let me be that friend for you now.
TL;DR
Who this is for: First-time moms preparing their nest before baby arrives (you’re doing great, by the way).
What you’ll get: A room-by-room diaper station checklist, caddy organization guide, and a permanent car kit setup that actually works.
Bottom line: The right setup in the right place means those 3am changes take 3 minutes instead of 20 — and that extra sleep matters more than you know right now.
Reading Time: 10 minutes
Key takeaways
- ● Two stations beat one — and setting them up before baby arrives means one less thing to worry about later
- ● Zip-lid caddy beats an open basket every time — it keeps things organized at home and travels without the dreaded repack
- ● Stock for 48 hours minimum — newborns go through 8-12 diapers a day (yes, really), and running out at 2am is no fun
- ● Pre-fold the night onesie — leave it right on top where you can grab it in the dark, not tucked away in a drawer
- ● Car kit is not optional — trust me on this one. A permanently stocked caddy in the car saves you on every single outing
What You Need Before You Start
Before you start adding things to your cart, let’s talk about what you’re actually building here. A diaper station checklist isn’t just a shopping list — it’s a fully stocked, grab-without-thinking system that lives wherever you and your baby spend time together.
The goal? Zero friction. Because here’s what I learned the hard way: at 3am, your brain just isn’t working at full capacity (and that’s completely okay). You should be able to reach for anything you need without turning on a bright light, fumbling through a drawer, or padding down the hallway.
Here’s what makes a diaper station actually work:
- Portability — it moves with you between rooms and into the car without hassle
- Organisation — everything visible and separated, not jumbled in a pile you have to dig through
- Containment — a zip lid means you can pick it up and go without repacking every single time
- Reach — everything you need within arm’s reach of where you’re changing your little one
Pro Tip
Set up your stations at least two weeks before your due date. I know you’re tired and there’s so much to do, but trust me — you won’t have the energy or the time after baby arrives. Future you will be so grateful you did this now.
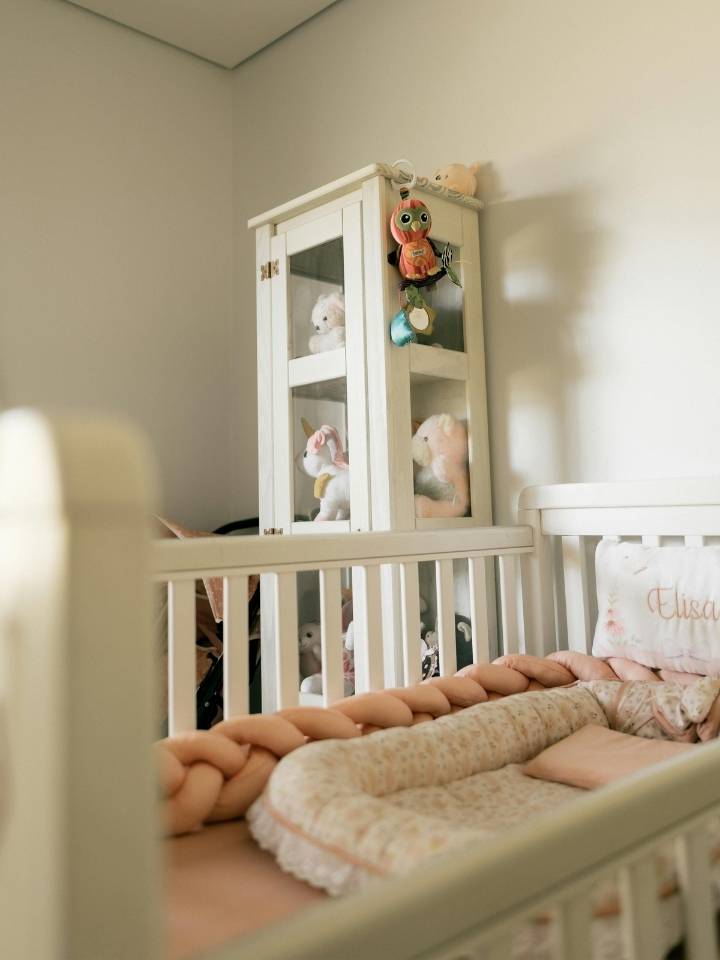
Step 1: Choose Your Spots

Most people set up one beautiful changing area in the nursery and think they’re all set. And that works perfectly fine — until you realize you’re spending most of your time curled up on the couch and the nursery feels like it’s a mile away.
Here’s what I recommend: set up two stations minimum.
| Station | Location | Why |
|---|---|---|
| Primary | Nursery or bedroom | Full setup, all supplies |
| Secondary | Living room or wherever baby sleeps most | Saves you that exhausting 3am hallway walk |
| Car kit | Permanently in your car | Covers every outing without the last-minute scramble |
That secondary station? It’s the one most moms (myself included) set up way too late and then wish they’d done from day one. The good news is it doesn’t need to be elaborate or Pinterest-perfect — a well-stocked portable caddy sitting on your coffee table is honestly all it takes. It looks tidy, it moves when you move, and it means everything is right there when you need it.
Pro Tip
Think about where you’ll actually be doing most of your night feeds. That’s where your secondary station should live. For most new moms, it’s the living room couch or right beside the bed — not the beautifully decorated nursery down the hall.
Step 2: Your Diaper Station Checklist by Category
Here’s everything you actually need at each station, broken down so it’s easy to gather. Use this diaper station checklist to stock both your home station and your car kit, you’ll be so glad you did.
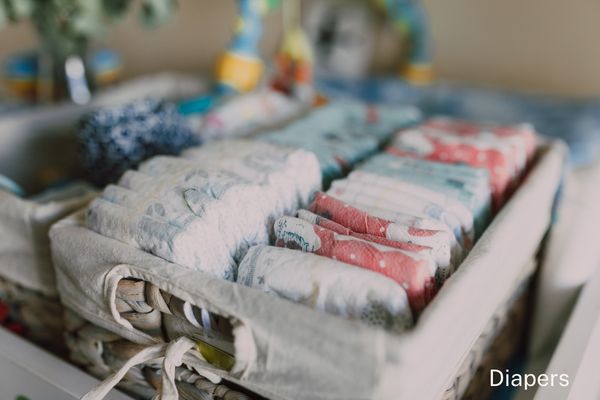
Diapering Essentials
| Item | How much per station | Notes |
|---|---|---|
| Diapers | 10-15 | Newborns use 8-12 per day — per AAP guidelines |
| Wipes | 1 full pack | Go for fragrance-free for your baby’s sensitive skin |
| Diaper cream | 1 tube | Zinc oxide based works best — Boudreaux’s or Desitin are mom favorites |
| Disposable changing pads | 5-10 | Perfect for changes on the go or when you need a quick clean surface |
Step 3: Organise Your Caddy the Right Way
Not all diaper caddies are created equal, and the difference honestly matters more than you’d think. Organising your diaper station checklist the right way means everything is within reach when you’re half asleep at 3am.
Here’s how the main types compare:
| Caddy Type | Pros | Cons |
|---|---|---|
| Open basket | Easy access, looks nice on Pinterest | Everything tumbles together, can’t travel with it |
| Zip-lid caddy with dividers | Portable, organised, travel-ready | Takes an extra moment to zip when you’re in a rush |
| Drawer organiser | Great for a fixed station | Can’t move it between rooms or take it in the car |
The zip-lid caddy with removable dividers wins for most moms because it solves the two biggest headaches at once: staying organized at home and being ready to go wherever you need to be. Stock it at home, zip it up, and it comes with you to the car, grandma’s house, the park. No frantic repacking needed.
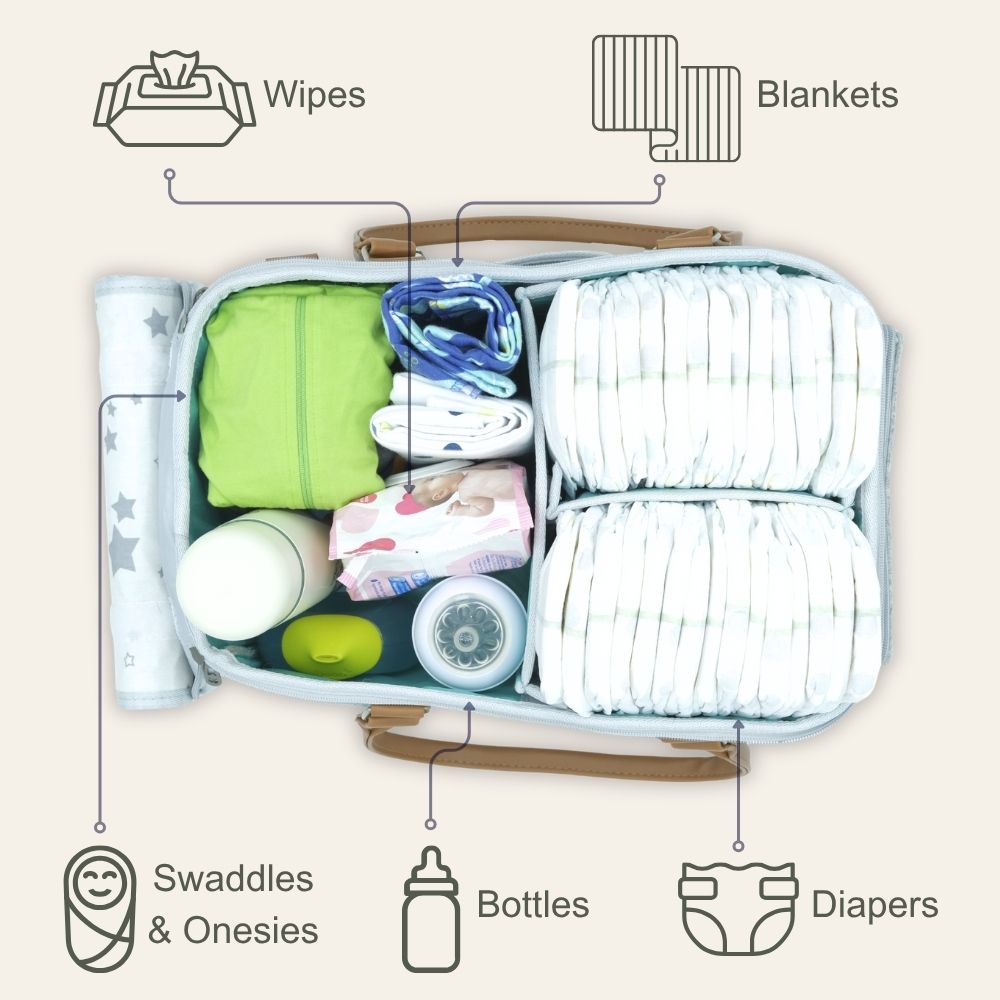
What goes in the caddy vs what stays nearby:
| In the caddy | Nearby but not inside |
|---|---|
| Diapers (10-15) | Full wipes refill pack |
| Wipes (one pack) | Extra clothing stack |
| Diaper cream | Spare changing pads box |
| 1-2 burp cloths | Baby lotion bottle |
| Pacifier | Nail clippers |
Pro Tip
A caddy with a shoulder strap is more of a game-changer than you’d expect. Carrying your baby in one arm and everything else in the other becomes your daily reality pretty quickly. Being able to sling the caddy over your shoulder and move between rooms hands-free? That’s genuinely helpful on those long days.

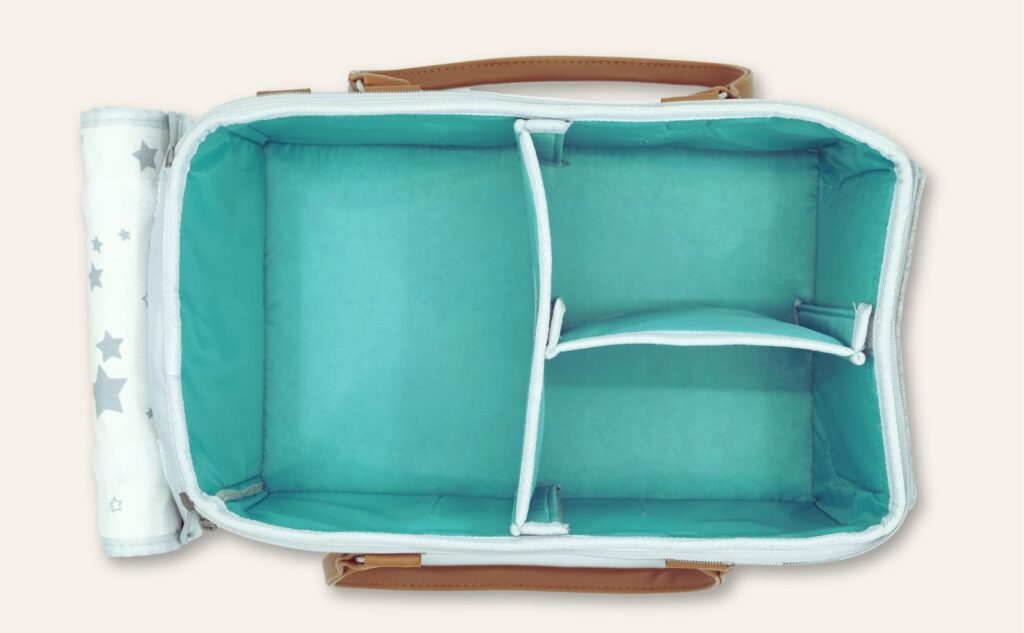
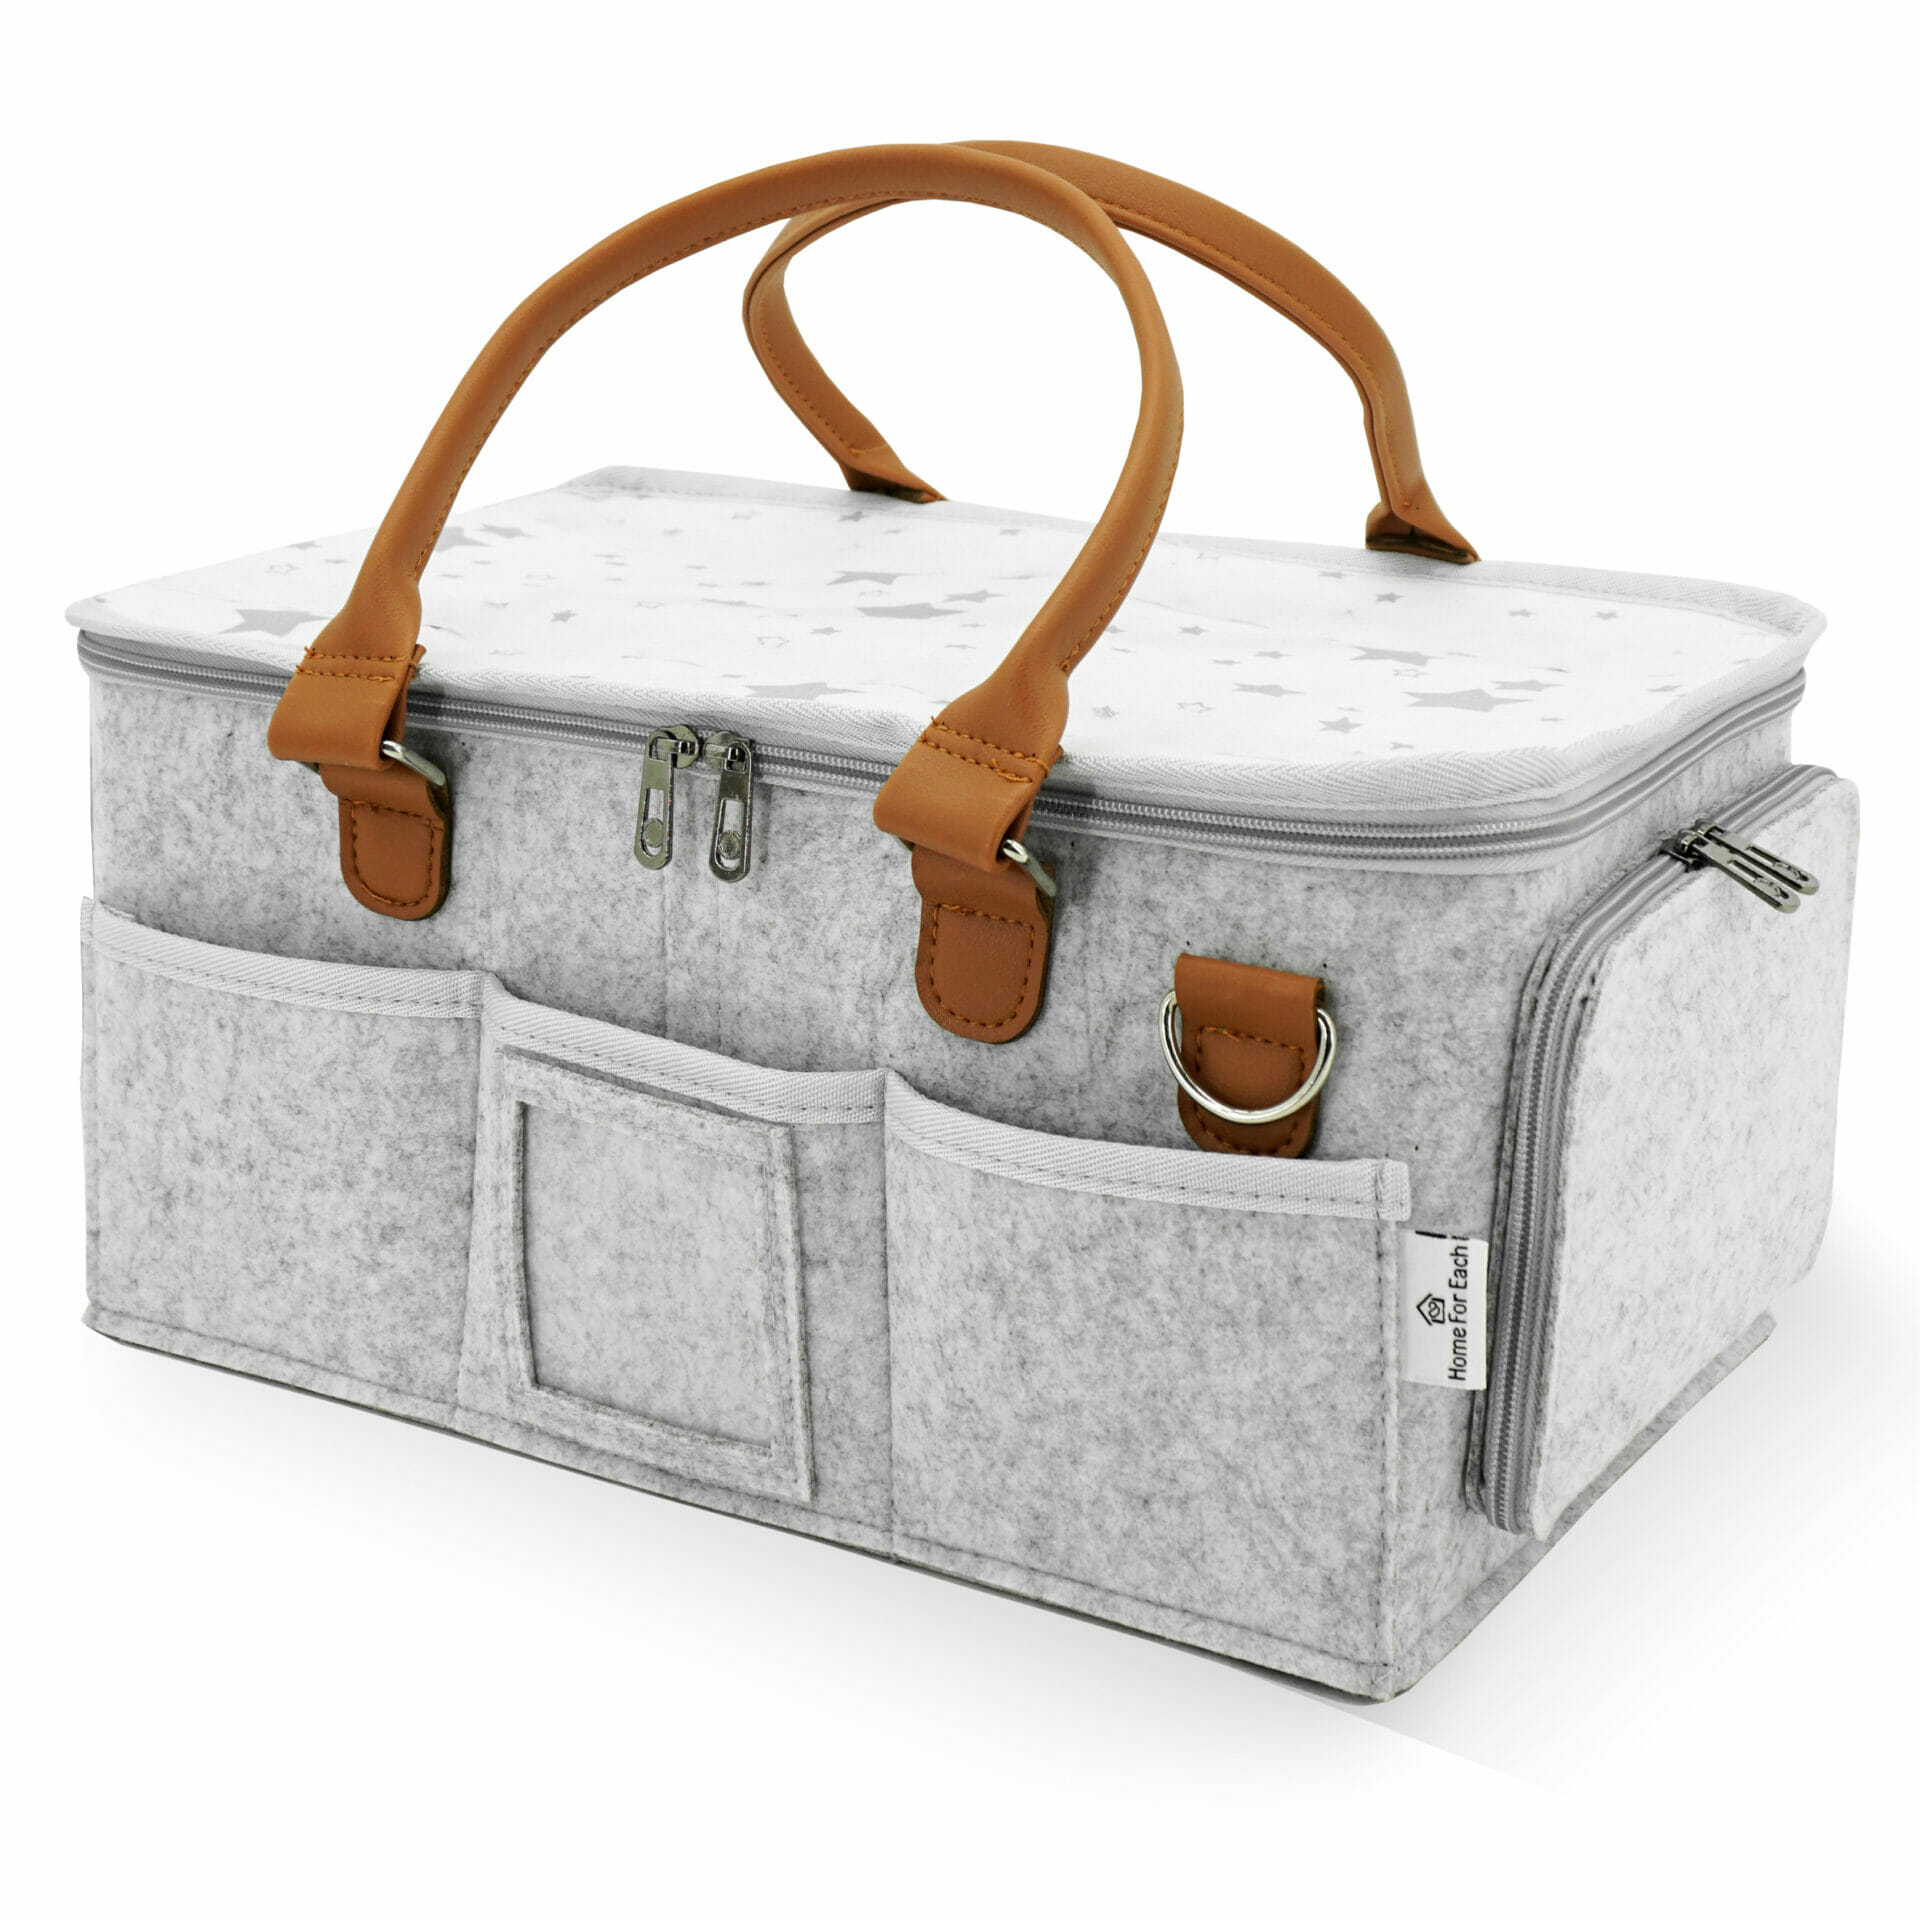
Zip lid · Removable dividers · Waterproof interior · Shoulder strap
The caddy 1000+ moms called their “sanity saver” — with the shoulder strap they actually use.
⭐⭐⭐⭐⭐ 4.7 stars · 1,100+ Amazon reviews
Step 4: Set Up Your Car Kit
This is the station most moms (including me) wish they’d set up way earlier. A permanently stocked caddy that lives in your car means you’re covered for every park trip, every spontaneous visit to the grandparents, every moment you realize the diaper bag isn’t quite as full as you thought it was.

Here’s exactly what to put in the car kit:
| Item | Quantity |
|---|---|
| Diapers | 6-8 |
| Wipes | Travel pack |
| Change of clothes | 1 outfit, sized up |
| Diaper cream | Small tube |
| Disposable changing pad | 3-5 |
| Pacifier | 1 spare |
| Small zip bag | 1 |
Here’s the mindset shift that makes all the difference: treat your car kit as a permanent fixture, not just an emergency backup. Restock it when you restock the house. It lives in the car. It doesn’t come inside. That’s what makes it so reliable, because it never moves.
A zip-lid caddy fits perfectly on the floor in front of the infant car seat, stays put when you brake, and zips up so nothing spills or rolls around while you’re driving.
Pro Tip
Set a reminder on your phone to restock the car kit every Sunday. It takes maybe five minutes and means you’ll never be caught at a rest stop with no diapers and a very unhappy baby. (Ask me how I know.)
Step 5: The Extras Nobody Talks About
These didn’t make the main checklist, but they’re the things experienced moms consistently wish someone had mentioned earlier, so I’m mentioning them now.
Removable dividers make a bigger difference than you think. Those open-bucket style caddies look gorgeous in photos, but everything ends up in a jumbled pile within about 48 hours. Dividers mean diapers on one side, clothes on the other, creams and small things tucked in the pockets. You can reach for things without even looking, which is exactly what you need when you’re half asleep and just want to get back to bed.
The shoulder strap isn’t a gimmick. I know it sounds like a small feature, but when you’re carrying your baby in one arm and trying to move between rooms, being able to sling the whole caddy over your shoulder is genuinely helpful. Look for one when you’re choosing your caddy, you’ll use it more than you think.
Your caddy might double as a breast pump bag. A lot of moms discover this happy accident later. If you’re planning to pump in multiple rooms, a deeper main compartment fits a Spectra pump and all its parts perfectly. Something worth thinking about when you’re choosing which caddy to get, rather than trying to make it work later.
The waterproof interior matters. Creams leak. Wipes dry out. Things spill — it’s just part of life with a baby. A waterproof lining means you wipe it clean in ten seconds rather than replacing the whole caddy after one little incident.
How to Know Your Station Is Working
A good diaper station checklist removes friction from your day rather than adding to it. Here’s a quick self-check to see if yours is really working for you:
| Question | What it tells you |
|---|---|
| Can you reach everything without standing up? | Your layout is working beautifully |
| Can you do a night change without turning on the main light? | Your nightlight and prep are right |
| Can you grab the caddy and leave the house in under 2 minutes? | Your portability is sorted |
| Does restocking take less than 5 minutes? | Your system is actually sustainable |
| Has anything run out without you noticing? | You need a restock reminder (no judgment!) |
If you can say yes to all five, your station is genuinely working for you. If one or two feel a little shaky, that’s totally oka, and that’s exactly where to focus your energy. Fix that one friction point rather than overhauling the whole setup.
Conclusion
Here’s what I want you to know: a diaper station isn’t about being the most organized mom on the block or having the most Instagram-worthy nursery. It’s about removing friction from the moments that are already hard, so you can actually be present for the ones that matter.
Use this diaper station checklist to get the right stuff in the right place before your baby arrives, and you’ll thank yourself at 3am when everything is exactly where it’s supposed to be and the whole thing takes three minutes instead of twenty. You’ve got this, mama.
What’s the one thing you’d add to this diaper station checklist that nobody told you about? Drop it in the comments. New moms reading this will really appreciate your wisdom.
Recommended Reading
More helpful guides coming soon. Check back as the blog grows.
Frequently asked questions
The Home For Each Diaper Caddy
Zip lid · Removable dividers · Waterproof interior · Shoulder strap
⭐⭐⭐⭐⭐ 4.7 stars · 1,100+ Amazon reviews